Posts tagged #processes

Lost Wax: Casting to Create

Here's a very brief overview of some of the steps involved in the lost wax casting process. The Applied Arts course at North Wales School of Art & Design is really hands on with teaching and practising important processes like this. Their focus is "on the high quality craft skills needed to be a professional maker".

Spruing-up with thin rods of wax makes a tree like structure which will allows the molten metal to flow into and fill the cavities.

Spruing-up with thin rods of wax makes a tree like structure which will allows the molten metal to flow into and fill the cavities.

"Spruing Up"

Taking your organic found objects or wax shapes you have made, you have to connect them to a wax tree with little wax branches called "Sprues" all pointing "Up" so that when turned upside down the metal flows down into the spaces left after the wax melts. You want the sprues to be as thin and delicate as possible when working on small scale castings as they will also be "transformed" into solid metal and you will have to cut them off where they are attached and clean up your castings. This makes "spruing up" quite fiddly and takes longer than you think! You need a steady hand and plenty of concentration when melting and applying the wax sprues.

When your tree is finished and all the parts are secure it is fitted inside a flask. Next is a crazy process which is all about precision and timing!

Plaster

You have to mix up a bucket of special investment plaster, carefully weighing up the quantities, making sure everything is clean and uncontaminated. The plaster starts to harden very quickly so processes need to be followed really carefully and quickly, so just like a TV chef you need to know the "recipe" inside out and have all of your things weighed out and everything to hand. However, instead of putting your "mixture" in the shiny oven in your glamorous chef's kitchen, the flask of plaster goes into a vacuum chamber to get rid of the air and ensures crisply defined castings. After the specified time in the vacuum, the flask goes into the kiln overnight. This will burn away the wax and organic materials leaving the cavity to then fill with molten metal.

Casting Day

Now you can prepare your casting metals. These have to be weighed out depending on the weight of the flask and how big the castings are going to be. Accurate measurements are really important. If too little metal is melted then when it's poured in, it won't fill out the cavities, meaning your one-off castings will be sad and empty or partially missing spoiling your hard work from the previous day! 

Casting grains of silver go into the crucible to melt ready to pour into the mould. 

Lovely brass for brass castings.

Brass scrap in the crucible

You can see the chopped up "sprue-trees" leftover from a previous casting to be melted and reused in this casting.

Working with hot metal is dangerous, so safety equipment and the right tools are needed to protect yourself and those around. And maybe a nice cold drink for afterwards, as it does get VERY hot! 

When ready (again, timing is everything so follow instructions and have accurate timers), the flask is plunged into a bucket of water. This causes the special plaster to fizz and bubble dramatically like a volcanic geyser so it's very exciting!

This reaction means that the plaster should dissolve and break away leaving the metal casting to be cleaned up.

It's like excavating your own fossils!

 Silver casting of wax rings by my sister Julie Mellor.

Brass casting of plant stems collected by my sister Rozanne Mellor.

Now the castings can be sawn-off by hand, cleaned up and transformed into whatever you have planned for them! I hope this shows what an exciting and involved process casting is! For more information on the facilities, Open Days and courses at North Wales School of Art & Design at Glyndwr University check out their website or message them on Twitter@NWSADAppliedArt 

Unlocking the Mysterious Mineral Box


Museum Minerals


I recently met with Robin Hansen, a curator at the Natural History Museum in the Minerals division for a sneak peek of some of the minerals going into a new exhibition.


Robin is an award winning gemmologist, previously working with private collectors. I really valued Robin's expertise to unlock some of the secrets behind how these amazing specimens form. 

One in particular really fascinated me, it was large and matt with cube shaped hollows all over the surface this was an Epimorph.


Quartz EpimorphImage from Crystal Classics: "specimen shows cubic edged impressions of pre-existing probable Fluorite crystals measuring to 3.5 on edge"

Quartz Epimorph

Image from Crystal Classics: "specimen shows cubic edged impressions of pre-existing probable Fluorite crystals measuring to 3.5 on edge"

Example of cube shaped FluoriteImage reproduced from the 'Mineral Images Gallery' of the Mineralogical Society of Great Britain & Ireland (www.minersoc.org")

Example of cube shaped Fluorite

Image reproduced from the 'Mineral Images Gallery' of the Mineralogical Society of Great Britain & Ireland (www.minersoc.org")


Epimorph:

A HOLLOW CAST LEFT BY A MINERAL THAT HAD GROWN OVER AN INITIAL MINERAL WHICH HAS DISSOLVED AWAY.


There would have originally been a specimen of fluorite, formed from crisp angular cubes which this other mineral had grown around.


There is a beautiful and intriguing example of an Epimorph currently on display in “The Vault” at the Natural History Museum.


The mystery of this particular example is that the original inner mineral should have dissolved before the outer box, so we're not sure exactly what caused this epimorph to form.


What is particularly beautiful is how another mineral has started to grow inside the cavity left behind.

 
Box epimorph of siderite after fluorite from the Virtuous Lady mine in Devon. Image courtesy of Jolyon & Katya Ralph from www.Mindat.org

Box epimorph of siderite after fluorite from the Virtuous Lady mine in Devon. Image courtesy of Jolyon & Katya Ralph from www.Mindat.org

So now, to investigate this amazing process further and how it links to jewellery see my next post coming up where I visited Glyndwr University’s jewellery and metalwork department the same week for a demo on Investment Casting.

Luxury In Progress

I was recently visited by a team from the fantastic website Luxury In Progress. They spent some time with me in the studio to learn about my processes and discover how I translate my ideas into reality. Rather than just covering the latest trends or focusing on a finished product their interest lies in showing "Design, Fabrication, innovation..." Here are some photos from their visit shot by Alice Balas, you can read the full interview  by Louise Benson on their site here: Luxury In Progress

Here I am with one of my mineral books looking at structures. My favourites are the 70s ones with illustrations and matt prints in great colours.

Here I am with one of my mineral books looking at structures. My favourites are the 70s ones with illustrations and matt prints in great colours.

Choosing some materials, I use lots of different organic and found objects in my work I love collecting things and experimenting with my stash.

Choosing some materials, I use lots of different organic and found objects in my work I love collecting things and experimenting with my stash.

Smashing up a geode full of hidden treasure! I didn't know what this would be like inside until I broke into it.

Smashing up a geode full of hidden treasure! I didn't know what this would be like inside until I broke into it.

Seeing how I could use the fragments.

Seeing how I could use the fragments.

The big sink, getting clean water to clean up my pieces.

The big sink, getting clean water to clean up my pieces.

A lot of my time is spent carving, shaping and sanding the objects that I cast. I can fill in and sand back several times, waiting for  them to dry and cure in between. For this reason I work on a few pieces over a time adding and working back …

A lot of my time is spent carving, shaping and sanding the objects that I cast. I can fill in and sand back several times, waiting for  them to dry and cure in between. For this reason I work on a few pieces over a time adding and working back into them so they develop organically.

When I'm happy with the final shape there is some hand polishing to achieve whatever surface finish I want on the piece. The very glossy ones take a lot of elbow grease to get a perfect shine working through grades of buffers and are finally coated …

When I'm happy with the final shape there is some hand polishing to achieve whatever surface finish I want on the piece. The very glossy ones take a lot of elbow grease to get a perfect shine working through grades of buffers and are finally coated in a protective wax.

Ready to wear!

Ready to wear!

Luxury In Progress are currently nominated for the AWWWards which recognises design & creativity on the internet! Check out their site for more practitioners and pioneering materials and processes to find out what's new in the creative world: www.luxuryinprogress.com

If you would like to visit the studio email me at info@jademellor.com. I'm based in Manchester City Centre, by Piccadilly Station and Northern Quarter. 

Behind the Bespoke

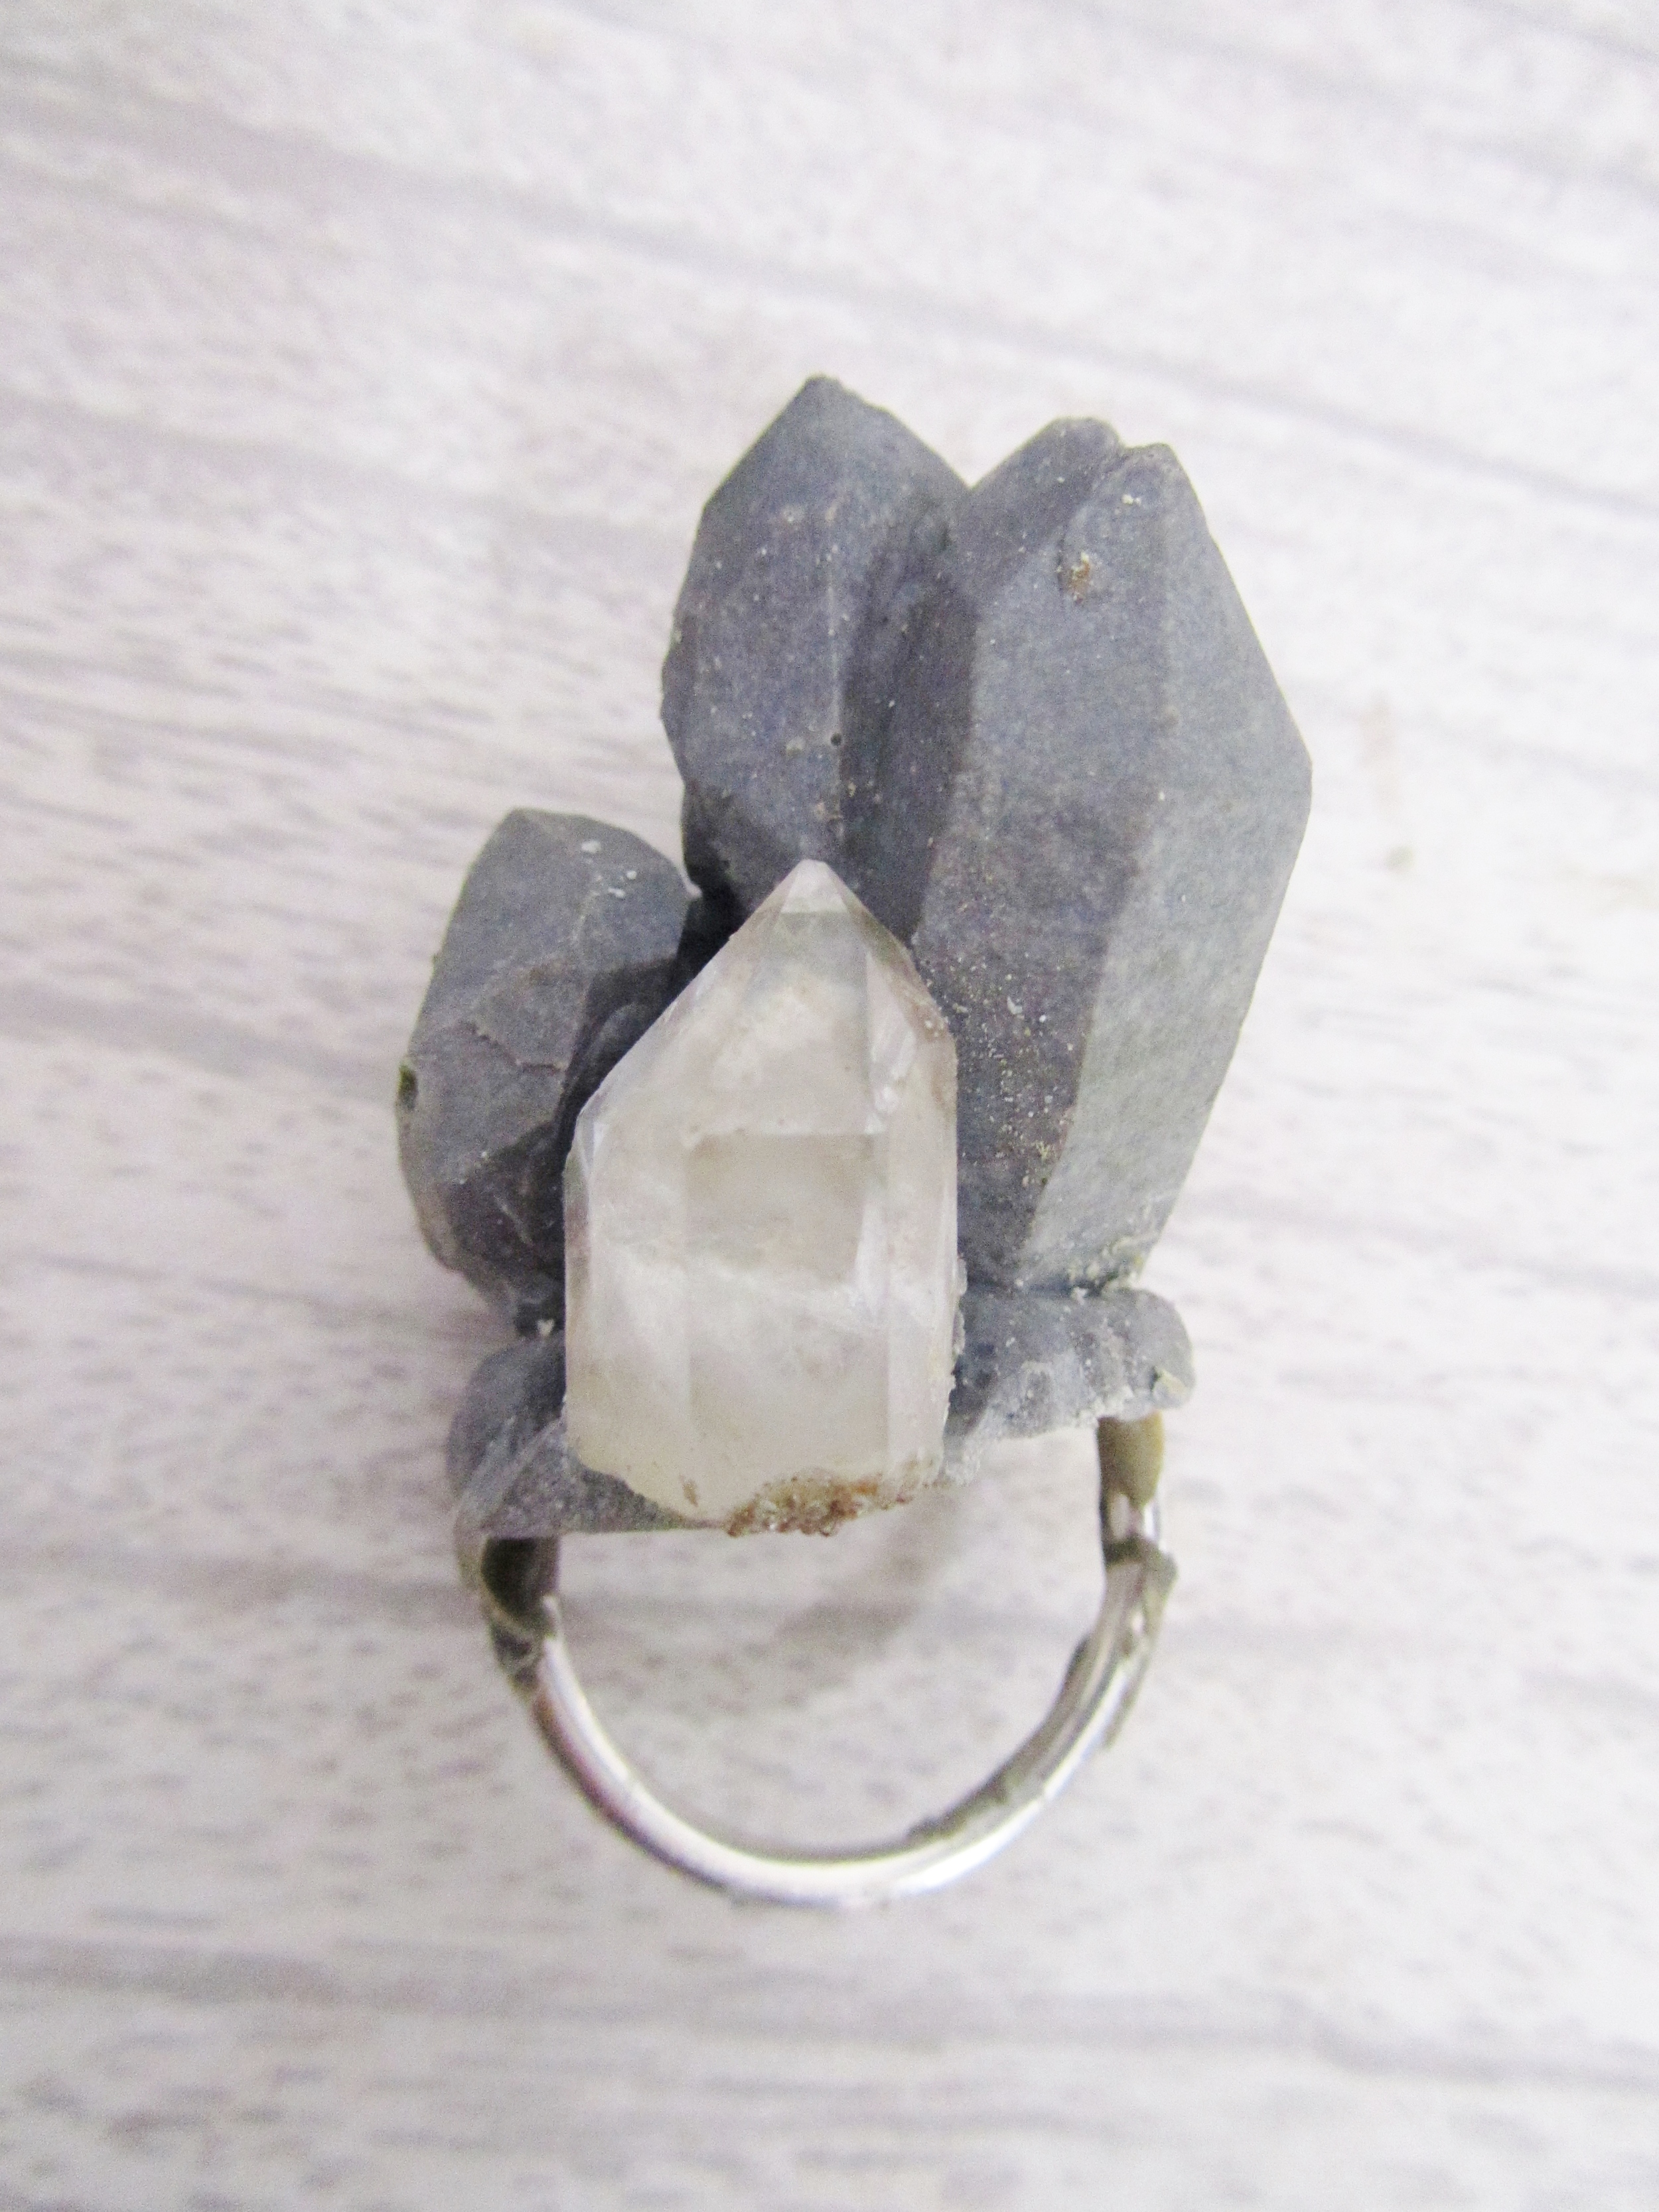
The first cast from a mould taken from a one-off master. A mixture of naturally formed raw quartz crystal and cast resin. the rest of the body of the ring will now be built up and cemented with more material.

The first cast from a mould taken from a one-off master. A mixture of naturally formed raw quartz crystal and cast resin. the rest of the body of the ring will now be built up and cemented with more material.

Here is some background on a recent ring I was commissioned to make for a lover of bold, unique sculptural jewellery. Experimental and organic, it takes time and observation to let a piece like this develop.

This scrummy chunk of ferrous pyrite has the same textures I want to evoke through my processes. Naturally rusty and glittering due to it's combination of minerals and metals.

This scrummy chunk of ferrous pyrite has the same textures I want to evoke through my processes. Naturally rusty and glittering due to it's combination of minerals and metals.

Hand shaping with files and emery paper, enhancing the natural shapes and creating my own angles and protrusions.

Hand shaping with files and emery paper, enhancing the natural shapes and creating my own angles and protrusions.

You may notice the cast was originally a dull grey colour. The coloration on the finished ring is due to the iron inclusions in the resin, it is essentially controlled rusting, a process usually prevented at all costs when causing a deterioration in…

You may notice the cast was originally a dull grey colour. The coloration on the finished ring is due to the iron inclusions in the resin, it is essentially controlled rusting, a process usually prevented at all costs when causing a deterioration in metal objects (just see my poor tools). This ring is rusting to become the glittering metallic-brown, enhanced with lots of graded polishing and finishing. Here are some of the rusted metal fragment residue in my bowl from the shaping I did. To me it looks like a swirling galaxy in the surface of the dirty water. Even the messy work can become beautiful if you look at it closely.

Finished ring, coloured by rust, and finally encrusted with pyrite.

Finished ring, coloured by rust, and finally encrusted with pyrite.

jade mellor bespoke jewellery ring crystal crown.JPG
jade mellor bespoke jewellery ring crystals minerals rust angle.JPG
bespoke ring jade mellor crystal black glove.JPG
A crown or crystals

A crown or crystals

For enquiries into having your own bespoke piece made or giving the opportunity as a redeemable gift certificate just get in touch via info@jademellor.com and I'll be happy to answer any questions.

Posted on November 29, 2013 .